Every gardener wants a healthy crop and a good harvest after a growing season. In order to achieve this, proper action against garden pests is necessary.
The most common pests that are capable to destroy your entire crop are nocturnal worms/larvae that feed on young plant’s stem from below the ground, cutworms. Cutworms attack a wide range of plant species, including cabbage, beets, cauliflower, kale, potato, lettuce, carrot, crucifers, pea, rhubarb, pepper, tomato and broccoli. In this article, we are going to give the complete detail of cutworms; What are their life stages? How do they damage your plants? and most importantly, how can you prevent a cutworm infestation in your garden?
What are Cutworms?
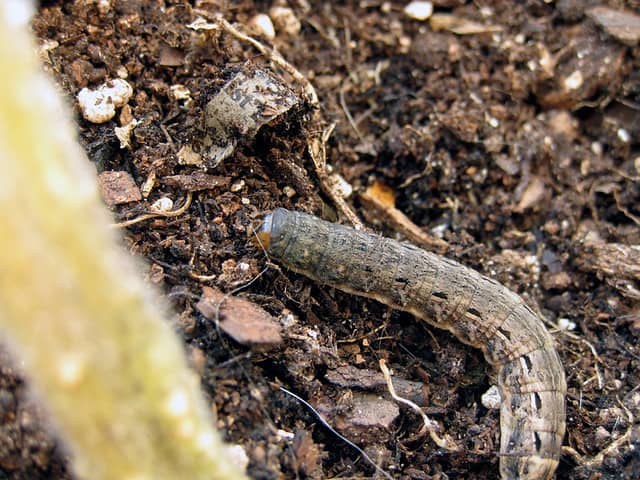
The cutworm moth includes a number of species, their most common types are black cutworm (Agrotis ipsilon), variegated cutworm (Peridroma saucia) and spotted cutworm (Xestia c-nigrum). The cutworm moth belongs to Noctuidae family, completes 2-6 life-cycles per year depending upon their species and location. Cutworm larvae (1-2”) are sturdy, pink, to green, to yellow, to gray or dull brown caterpillar, soft-bodied, curl up during rest or as a defensive measure. These worms burrow soil during the day and feed on the plants during the night. Adult moths (1-0.5”) are not harmful to plants, they are brown or dark gray, fly at night, have stripes or ragged blotches on their wings. The population grows rapidly generation to generation and can damage up to 75% of a crop.
Cutworm Lifecycle
Most of the cutworm species spend their winter in pupae stage or overwinter as a partial larvae stage. The partly grown larvae and the first generation of larvae are most destructive to plants. Moreover, the larvae in spring feeds on host plants during the night and remain hidden during the daytime. The cutworm larvae grow fully in late spring after several molting periods. It takes one week to become an adult moth to fully develop. The fully developed moth is harmless to plants but lay hundreds of eggs on leaves and stem.
Signs of Cutworm Damage
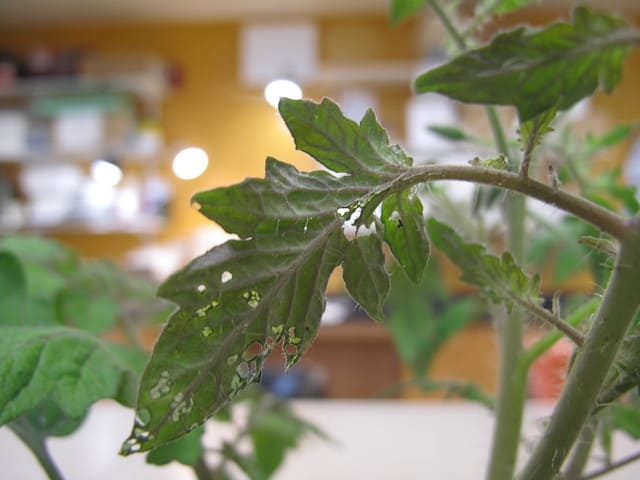
Cutworms feed on the stems and base of plants. They feed on roots and foliage of the young plants and break the plant’s connection from the ground which ultimately causes the death of the plant. After damaging the stem, they move to leaves, buds, shoots and fruits and, feed on them leaving small holes. In the result of a cutworm infestation, the plant becomes completely destroyed from the base. The next generation of the cutworm grows rapidly and can damage the whole crop.
Preventing A Cutworm Infestation
In order to try and prevent cutworm destruction, you can follow the tips below:
- Remove plant debris or weeds before planting a crop that might be a shelter for these pests. You can also allow the birds to pick their larvae and pupae during land clean up.
- Put barriers around plants (cardboard collar or aluminium foil) or 3 feet wide bare-soil strips along your field to avoid entry of the larvae.
- Stagger and postpone your planting for a couple weeks during the growing season. This will starve and attempt to kill the cutworms.
- Try border planting of Sunflower plants to lure cutworms as this is their favorite food. This will help you to hand pick them and prevent them before an infestation occurs.
- Use compost instead of green manure to discourage cutworms from laying eggs.
Methods To Control A Cutworm Infestation
If the preventive measures don’t go well, there is no need to worry. Here we are going to enlist several different methods to control a cutworm infestation.
First step is to watch for the level of damage to your crop. Inspect if your plants are damaged from the base or at the stem and if they are wilting with time. If there are fecal wastes on the ground, then it is a sign of cutworms feeding on crops. Try to hand pick them if you find their shelter near these plants.
- Nematodes
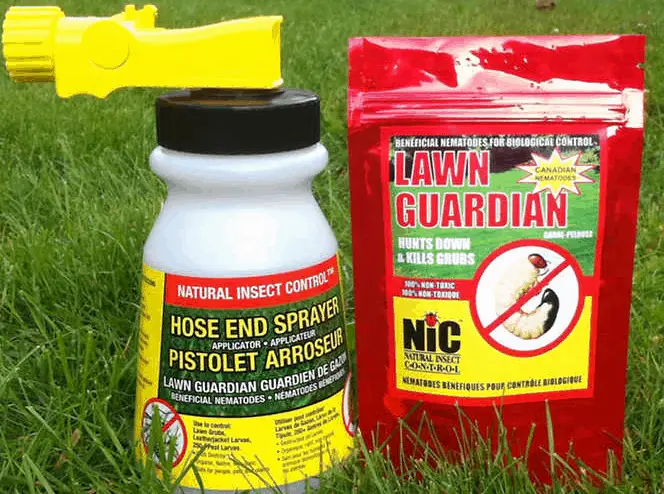
One of the most efficient and biological ways to control cutworms is releasing the microscopic nematode into the field. The predator devours on cutworm and enters through the mouth or anus. It releases a bacteria in the prey which decomposes pests in 24-48 hours, for nutrition.
I highly recommend the use of nematodes for its simplicity and effectiveness. Be sure to purchase a nematode sprayer to appropriately apply the nematodes to your garden or lawn. - Bacillus Thuringiensis
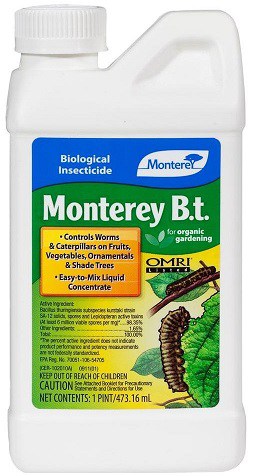
Bacillus thuringiensis, also known as B.T., is a natural pesticide to kill cutworms. Apply this insecticide spray during the late afternoon to help control the pests. - Diatomaceous Earth
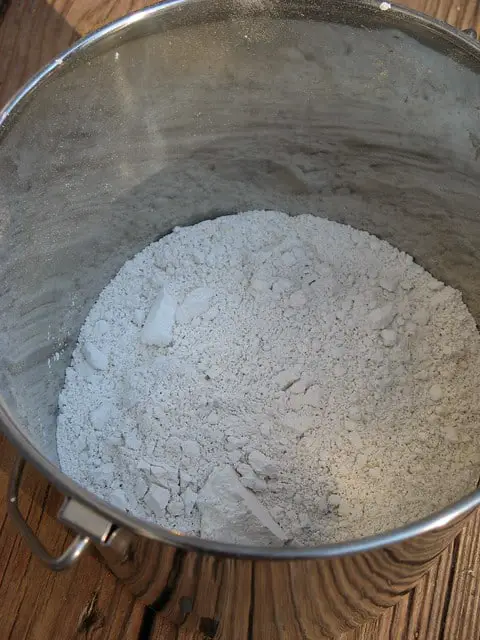
Sprinkle diatomaceous earth around the base of the affected plants. Diatomaceous earth is a natural occuring rock sediment that will kill pests when they come in contact with the earth. - Predator Wasps – Trichogramma
Trichogramma wasp is an effective predator to control cutworm in the early stages. The wasps lay their eggs within the cutworm eggs, which prevents them turning into caterpillars. Release the wasps for three consecutive weeks to destroy the pests eggs. - Coffee and Eggshells
Used coffee grinds and eggshells application around your plants may be helpful to control cutworms. They also serve a second purpose by being great for your garden as it breaks down into fertilizer/compost over time. - Tilling Your Soil
Tillage is one of the effective practice to control cutworm infestation. It is recommended to practice tillage in the morning, in the fall and during spring.